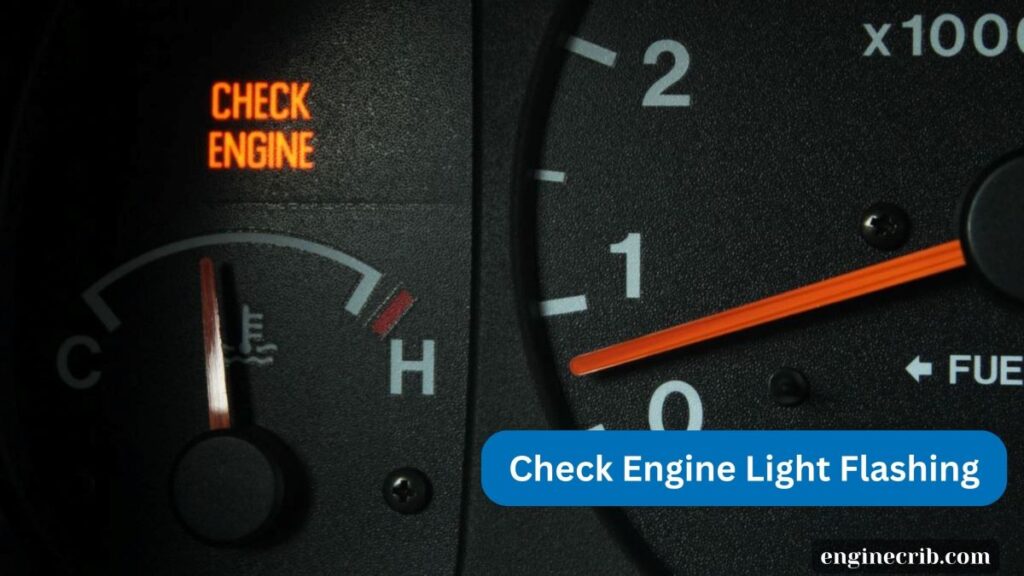
If you’re reading this, chances are you’ve had that nerve-wracking moment when your car’s dashboard lights up like a Christmas tree with a flashing “Check Engine” signal. I’ve been there too, and I know it can be pretty alarming. So, what’s the deal with that blinking engine light, you ask?
Check engine light signals a severe misfire condition in the engine, which demands prompt action. This often occurs due to problems like faulty spark plugs, a malfunctioning catalytic converter, or even something as simple as a loose or damaged gas cap. Whatever the cause, ignoring a flashing check engine light can cause further damage to your vehicle.
Well, I’m here to guide you through it all, from what it means to why it’s essential to address it ASAP and what you can do about it.
Signs of Engine Misfiring
Engine misfiring can manifest through several noticeable signs, indicating that something is amiss with your vehicle’s performance. Here are some common symptoms of engine misfiring:
- Engine vibrating or shaking more than usual when your vehicle is at a standstill signifies engine misfiring.
- When you notice a lack of power and responsiveness in your car and its acceleration is lesser than expected.
- Misfires can produce strange noises like popping, sputtering, or backfiring from the exhaust or engine compartment.
- Engine misfires can lead to higher emissions due to unburned fuel entering the exhaust system, which can trigger environmental concerns and potentially fail emissions tests.
- Jerky acceleration is another sign of engine misfiring. When your engine misfires, it struggles to deliver a smooth and consistent power output to the wheels, leading to uneven acceleration.
Dangers of Ignoring Check Engine Light
A flashing check engine light indicates a serious misfire condition within the engine. This problem can result from issues with ignition, fuel, timing, or compression. The consequences of ignoring it can be severe:
- You may experience hesitation or a significant loss of power during acceleration, making your vehicle unsafe to drive.
- Uneven rotation and overheating caused by a misfire can harm internal engine components.
- Unburned fuel in the exhaust system can damage oxygen sensors and rapidly increase catalytic converter temperatures, posing a fire risk.
Causes of a Flashing Check Engine Light
Common causes behind a flashing check engine light:
1. Spark Plug Issues
Spark plugs are like the tiny but essential fireworks in your engine. They create sparks that ignite the air-fuel mixture. Over time, spark plugs can wear out or become covered in deposits, making it harder for them to do their job effectively. When they can’t spark properly, your engine may misfire, and that’s when the check engine light starts to flash.
2. Catalytic Converter Problems
The catalytic converter is responsible for reducing harmful emissions. If it malfunctions due to damage or clogging, it can disrupt your engine’s performance. This disruption can lead to misfires and an unburned fuel mixture entering the exhaust system, which triggers the flashing check engine light.
3. Oxygen Sensor Malfunction
Oxygen sensors play a crucial role in managing the air-fuel ratio in your engine. When they become faulty or fail, your engine doesn’t receive accurate information about the mixture, leading to potential misfires and, you guessed it, the flashing check engine light.
4. Ignition Coil Failure
Ignition coils are like electrical transformers for your spark plugs. When one of these coils fails, it can result in weak or no sparks, causing your engine to misfire and the check engine light to flash.
5. Loose or Damaged Gas Cap
Surprisingly, a loose or damaged gas cap can throw your engine off balance. It can allow excess air into the fuel system, disrupting the air-fuel ratio and potentially causing misfires. The check engine light may flash to alert you to this issue.
6. Low Fuel Pressure
Inadequate fuel pressure can lead to incomplete combustion in the engine cylinders, resulting in misfires. These misfires can trigger the check engine light to flash as a warning sign of the problem.
How to Fix a Flashing Check Engine Light
Fixing a flashing check engine light involves a systematic approach to identify and address the underlying issue. Here’s a step-by-step guide on how to tackle this problem:
1. Check the Gas Cap
A loose or damaged gas cap can trigger the check engine light. Before doing anything else, check that your gas cap is securely tightened. If it’s loose or damaged, replace it and see if the light goes off after a few trips.
2. Assess Driveability
Pay attention to how the vehicle is behaving. Are you experiencing rough idling, jerky acceleration, or reduced power? Make a note of any additional symptoms to help diagnose the issue.
3. Scan for Diagnostic Trouble Codes (DTCs)
To pinpoint the exact problem, you’ll need an OBD-II (On-Board Diagnostics) scanner. Most auto parts stores offer free code scanning services. Alternatively, invest in an OBD-II scanner for DIY use. Plug it into your vehicle’s diagnostic port (usually under the dashboard) and read the trouble codes.
4. Research the Codes
Once you have the trouble codes, look them up in your vehicle’s repair manual or search online. These codes provide valuable information about the specific problem areas, helping you understand what’s wrong.
5. Consider DIY Fixes (If Applicable)
Depending on the code and your mechanical skills, you might be able to address some issues yourself. For instance, you could replace faulty spark plugs, oxygen sensors, or the gas cap. Always follow your vehicle’s repair manual and safety precautions when attempting DIY repairs.
6. Inspect Ignition Coils
If your vehicle uses ignition coils instead of spark plug wires, inspect them for signs of damage, corrosion, or loose connections. Ensure that the wiring harness connectors are securely attached.
7. Inspect Spark Plugs and Ignition Coils
Inspecting spark plugs and ignition coils is a crucial step in diagnosing and addressing engine misfires and other related issues. Here’s a guide on how to inspect them:
- Depending on your vehicle, you may need to remove individual spark plug wires to access the spark plugs. Use a socket wrench to carefully remove them, taking care not to damage the wires or connectors.
- Examine the condition of each spark plug. Look for signs of wear, such as cracked or damaged insulators, fouling (buildup of carbon deposits), or oil residue.
- Use a spark plug gap tool to measure the gap between the center electrode and the ground electrode. The gap should match your vehicle’s specifications, usually found in the repair manual or under the hood.
- If you find any signs of wear or the gap is incorrect, it’s best to replace the spark plugs with new ones that meet your vehicle’s specifications. Be sure to tighten them to the recommended torque using your socket wrench.
8. Check Fuel Pressure
With the gauge attached and the fuel system primed, turn the ignition to the “On” position and then off. The fuel pressure gauge will display the pressure reading. Compare this reading to your vehicle’s specifications
While monitoring the fuel pressure, inspect the connections and the gauge itself for any signs of fuel leaks. If you notice a leak, stop the procedure immediately and address it before proceeding.
9. Consult a Professional Mechanic
If the issue is beyond your expertise or requires specialized tools and equipment, it’s best to consult a professional mechanic. They can perform a comprehensive diagnosis and recommend the necessary repairs. Be sure to choose a reputable auto repair shop.
10. Inspect Engine Sensors
Use the scanner to read live sensor data. This will provide real-time information about the sensors’ readings and whether they are operating within the expected ranges. Pay particular attention to sensors related to the issue you’re trying to diagnose (e.g., MAF sensor for air intake problems).
Compare the sensor readings to your vehicle’s specifications. Look for any sensors that are reporting values significantly outside the normal range. These outliers may indicate sensor malfunctions.
If the scanner reveals any error codes related to specific sensors, you may choose to clear these codes after inspecting and addressing the sensor issues. Keep in mind that clearing the codes will also reset the check engine light, so be sure the problem is resolved before doing this.
After inspecting and addressing any sensor issues, reassemble any removed components and reconnect any disconnected sensors or wiring. Your car should be back to normal at this point.
Which Is Worse, Flashing or Solid Check Engine Light?
A flashing check engine light is worse than a solid light. Solid check engine light indicates a potential issue with your vehicle that may not require immediate attention. While a flashing check engine light is a clear warning sign of a severe problem, often related to engine misfires, and can lead to significant damage if left unresolved.
FAQ
Can Bad Spark Plugs Cause Flashing Check Engine Light?
Yes, bad spark plugs can cause a flashing check engine light. When spark plugs become worn or damaged, they can’t generate the necessary sparks effectively. The engine’s computer system recognizes these misfires and triggers the check engine light to alert you.
Can I Drive with the Check Engine Light Blinking?
No, it is not advisable to drive with a blinking check engine light. A flashing check engine light is a critical warning indicating a severe problem with your vehicle. Driving with it can exacerbate the problem and even pose safety risks.
Conclusion
A flashing check engine light indicates an engine misfire that requires urgent attention. In this guide, I discussed what a flashing check engine light means, why it should never be ignored, and what steps you can take to address it.
Remember, when that light blinks, your car is trying to tell you that something’s amiss under the hood, something that demands immediate action. Ignoring it could lead to more extensive and costly repairs down the road, not to mention potential safety hazards.